Knock-Down Shelves 2.0
A little over a year ago, I posted about a new apartment, and the pieces I had made to populate it. In the intervening 12 months, a lot has happened, and I am in a another new apartment, in a new/old city.
Much of my furniture collection survived the move, modified as it may be. The desk we shared, made in Alabama from an old door with inset aluminum panels, was cut down a little on both ends to fit into a tight new space. The kitchen work table, an ancillary counter for the last apartment in Chicago, was chopped from standing height to sitting.
The original Knock-Down Shelves.
The most refined piece I built for the last apartment were these Knock-Down Shelves, made from a single sheet of baltic birch plywood. In ten minutes, the whole shelf knocks down into five pieces with a ratchet and a wrench. Each shelf is an open-bottomed box; the sides of the box, acting as ribs, keep the top surface from deflecting. The sides are bolted to the boxes, forming a moment connection that keeps the shelf from racking even in the absence of a back or diagonal bracing.
Three structural strategies for shelves.
I worked hard to make the shelves pop -- I used an expensive grade of plywood, I plugged all the screw heads with dowels, and I finished it with oil and a coat of yellow enamel on all the exposed cut edges. I think they turned out great, meeting all my design goals. They looked sharp, but cost too much time and money.
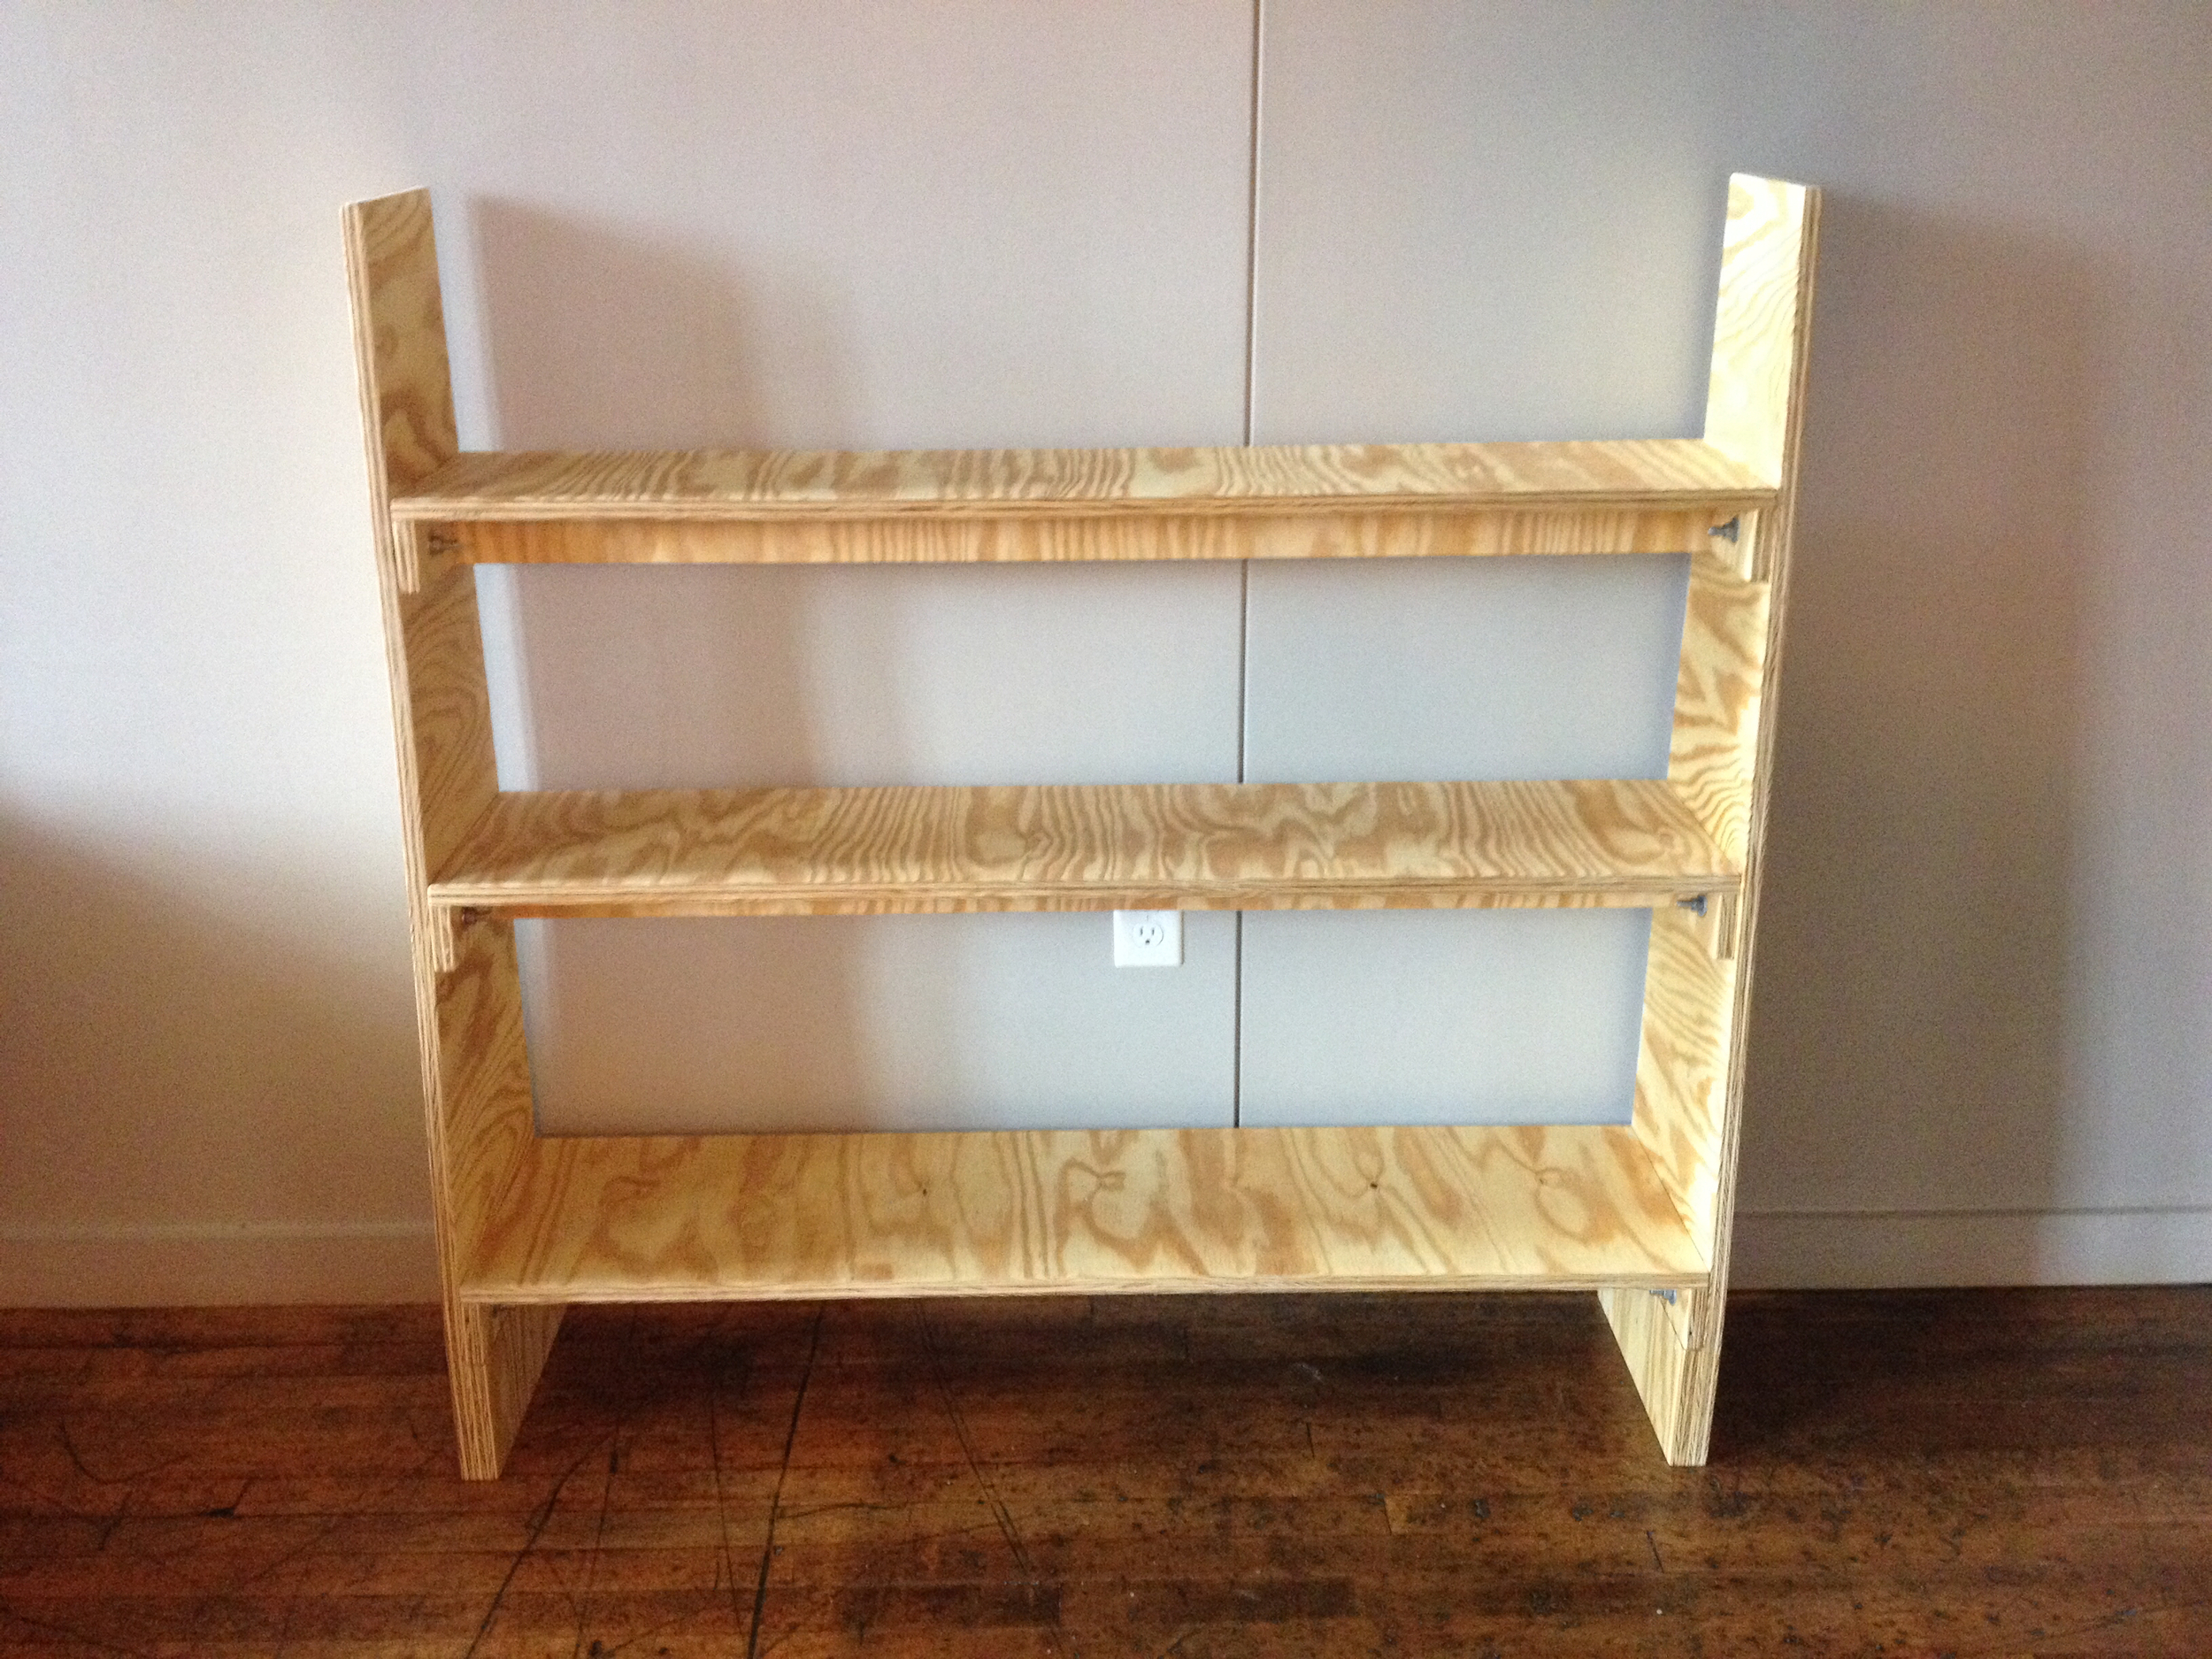
For the Knock-Down Shelves 2.0, I took a step forward and a step back at the same time, simplifying the design, using cheaper materials, and taking less time with the details. The result is aesthetically workable but not as sturdy as the first version. It is certainly cheaper, using lower-grade plywood, smaller bolts, and just wax for finish. The end result took about ten hours, cost about $45, and ought to last for years to come. Crucially, they were also built with just a circular saw, a drill, a driver, and a sunny day, as I don't have access to a shop right now.
Knock-Down Shelves 2.0.
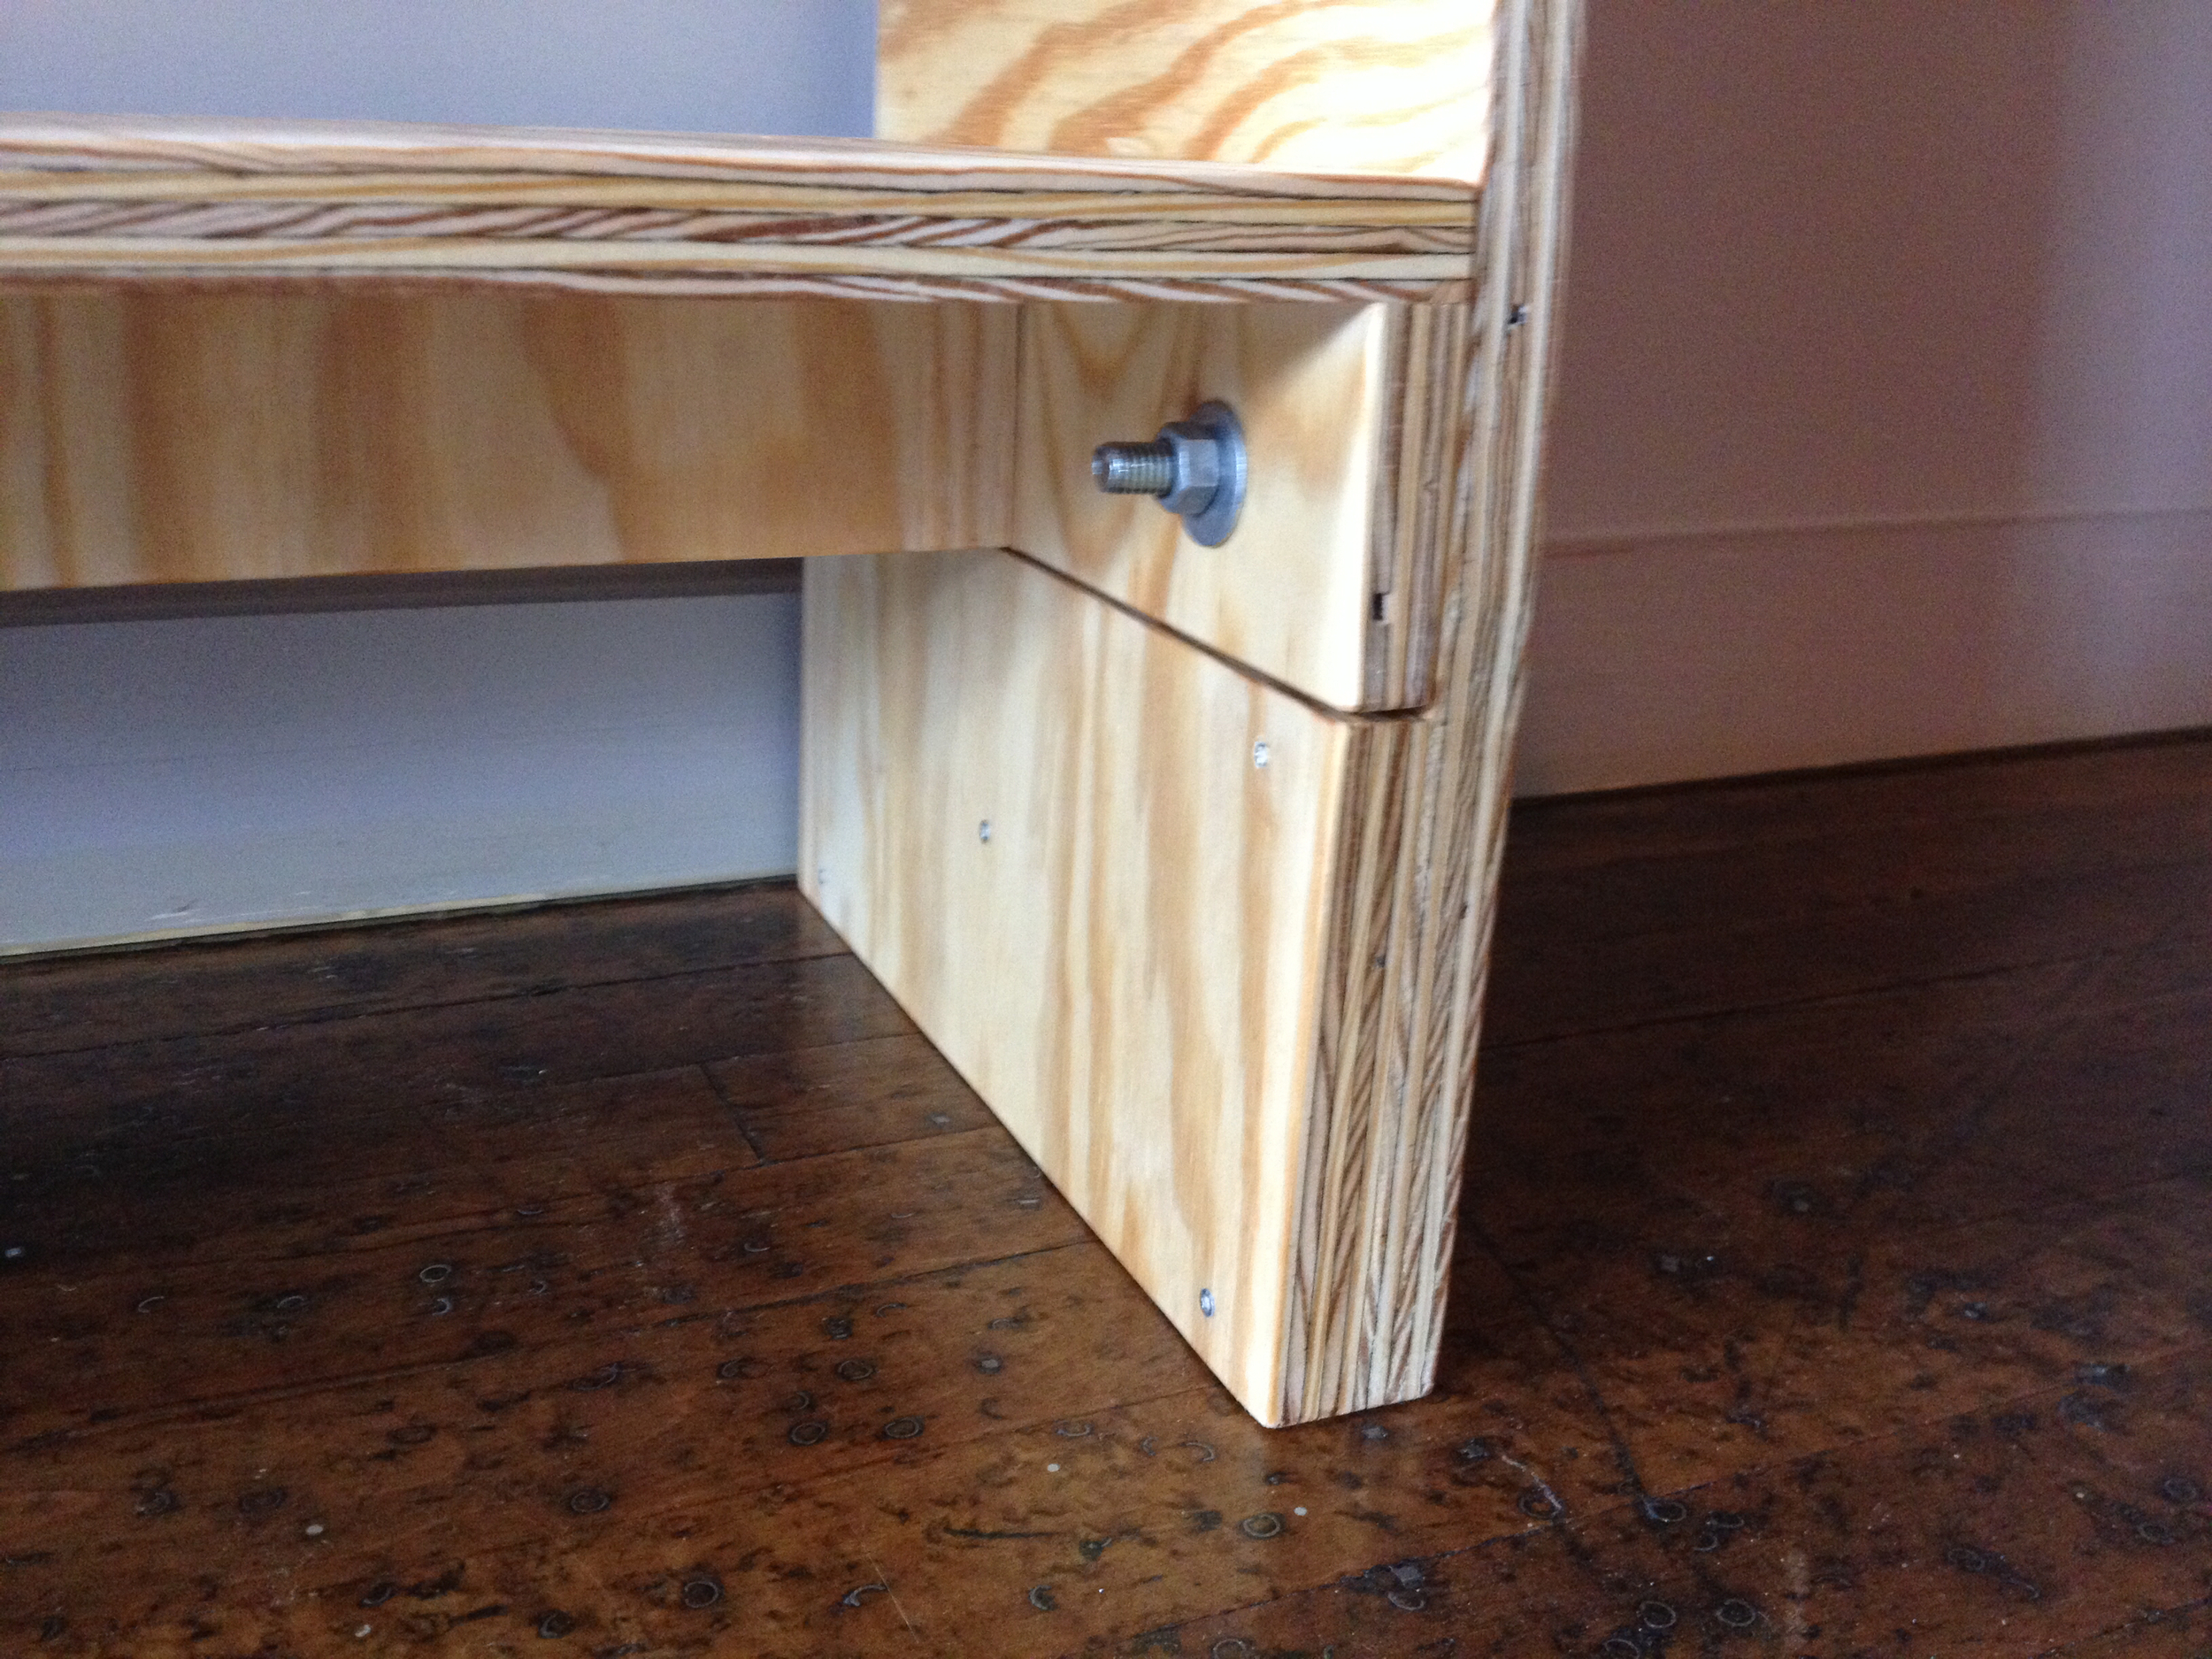
From below eye level you can see the new rib strategy.
I copied the dimensions from the first set of shelves closely, mirroring the shelf width, depth, and vertical distribution. The sides are the same taper, and if you set them side-by-side, they match up. However, to save time and material, I evolved the open-bottom box strategy, compressing the front and back ribs into one central rib. It is mated to two end plates, making an elongated "H" in plan. The ribs are screwed with Spax, eliminating countersinking, pre-drilling, and plugging.
I also downsized from 1/2" to 3/8" bolts in an effort to shave off a few dollars of cost and to work with drill bits I already had in my toolbox. This strategy made them faster to build, with more wood left over, but I don't think they are as sturdy as the 1.0 shelves. Instead of the time-consuming taping off and painting of the cut edges, I just waxed the whole thing, which provides a medium layer of protection on bare wood and makes the grain pop a little. Over time, I may add coats, but waxing makes it near-impossible to come back later with another finish such as lacquer or polyurethane.
All in all, I'm pleased with this iteration. Next time I'll get it perfect -- the sweet spot where time, price, strength, and looks all intersect.
Yeah, right.
Perspective.
Detail; you can see the bolts now, instead of them being hidden up in the underside of the boxes.


