Breakdown Table
Before moving up to Chicago, in the spring of 2011, I put together a small breakfast table. The legs were mortised into the top (a move I used to better effect a year later) and removable, making for a simple, lightweight, knock-flat table. Each leg was a simple, tapered 2x4, run through with a dowel that reinforced the mortise. At about 30" square, it fit perfectly into our little studio apartment, under the kitchen window.
After nearly two years of faithful service, however, the Breakdown Table is showing some signs of wear. The top, an old laminate desk that I spray-painted primary yellow, is peeling, and the black rubber rim around the perimeter brings an institutional flavor to our meals. My lateral-stability scheme, based on drywall screws through the dowel "ears" at the top of each leg, is also failing The top has a particle board core, which has gradually lost its grip on the screws in each leg.
The original Breakdown table, with laminate top and removable 2x4 legs.
Dowel "ears" secure the leg to the table with screws and provide lateral stability.
At its core, the Breakdown Table is a good design, with a straightforward structural scheme. I spent last Saturday, and a few early mornings this week fabricating a new top designed to address the deficiencies in the structure and expand the table's possible uses.
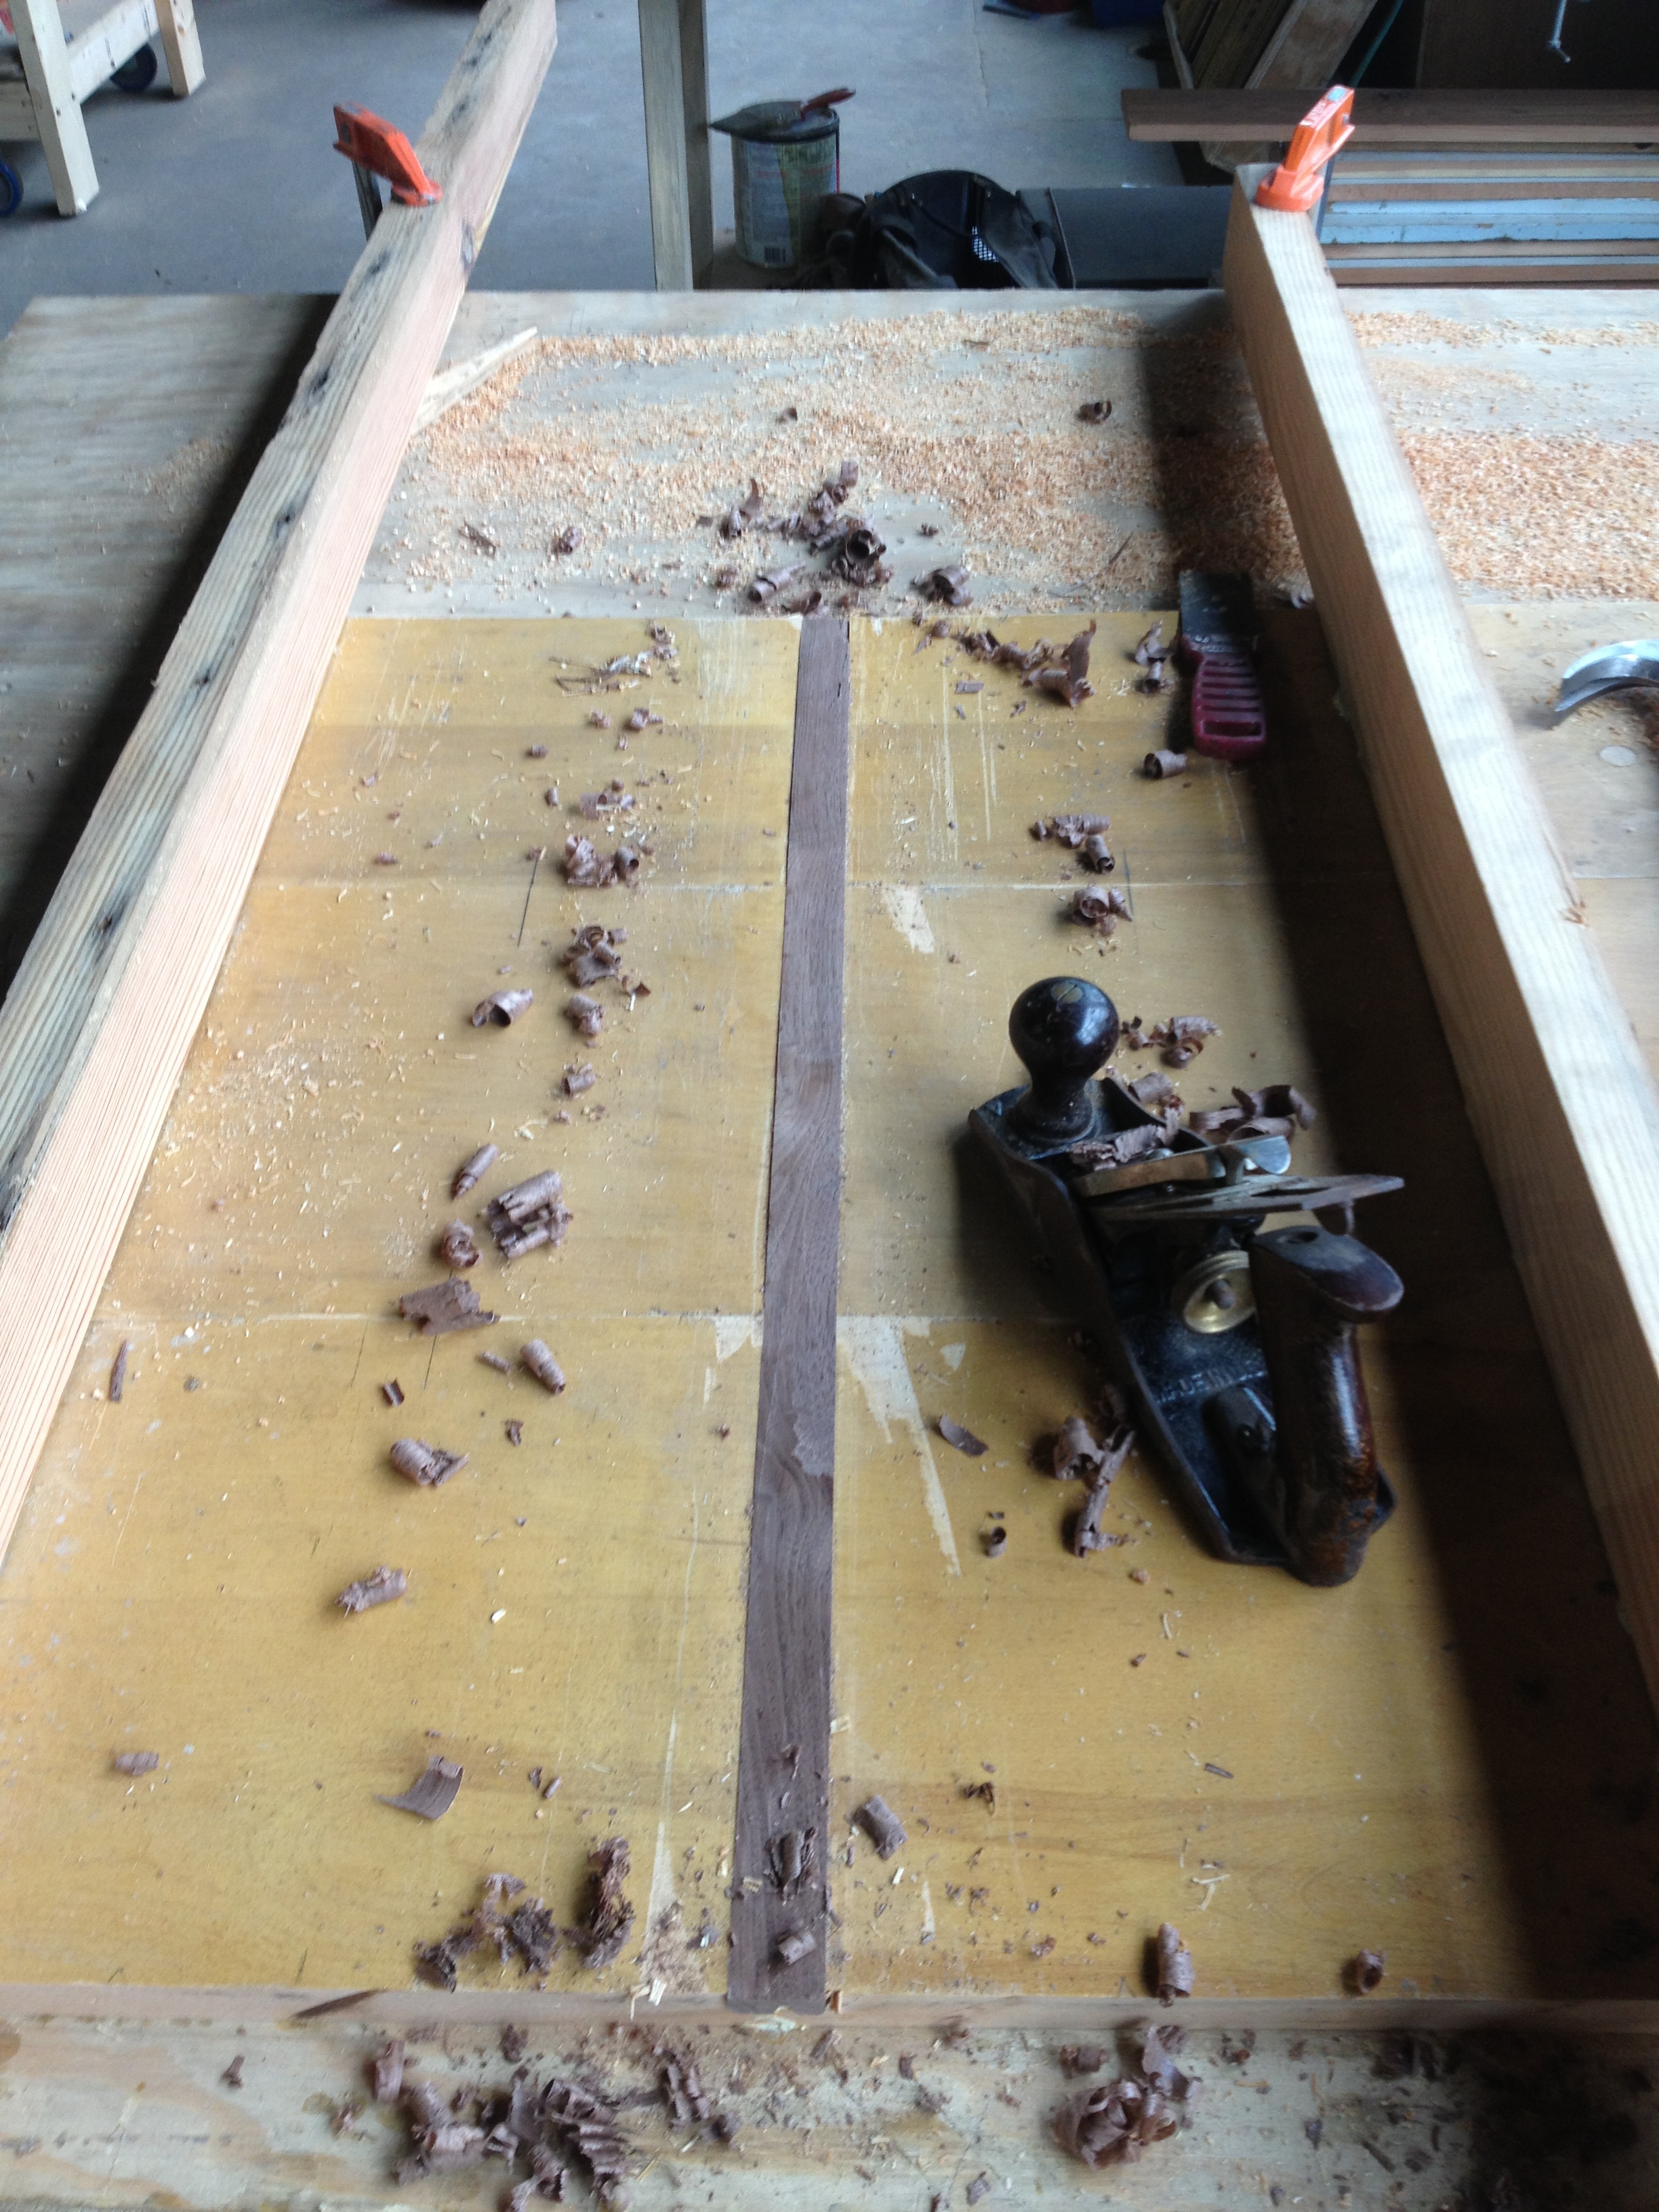
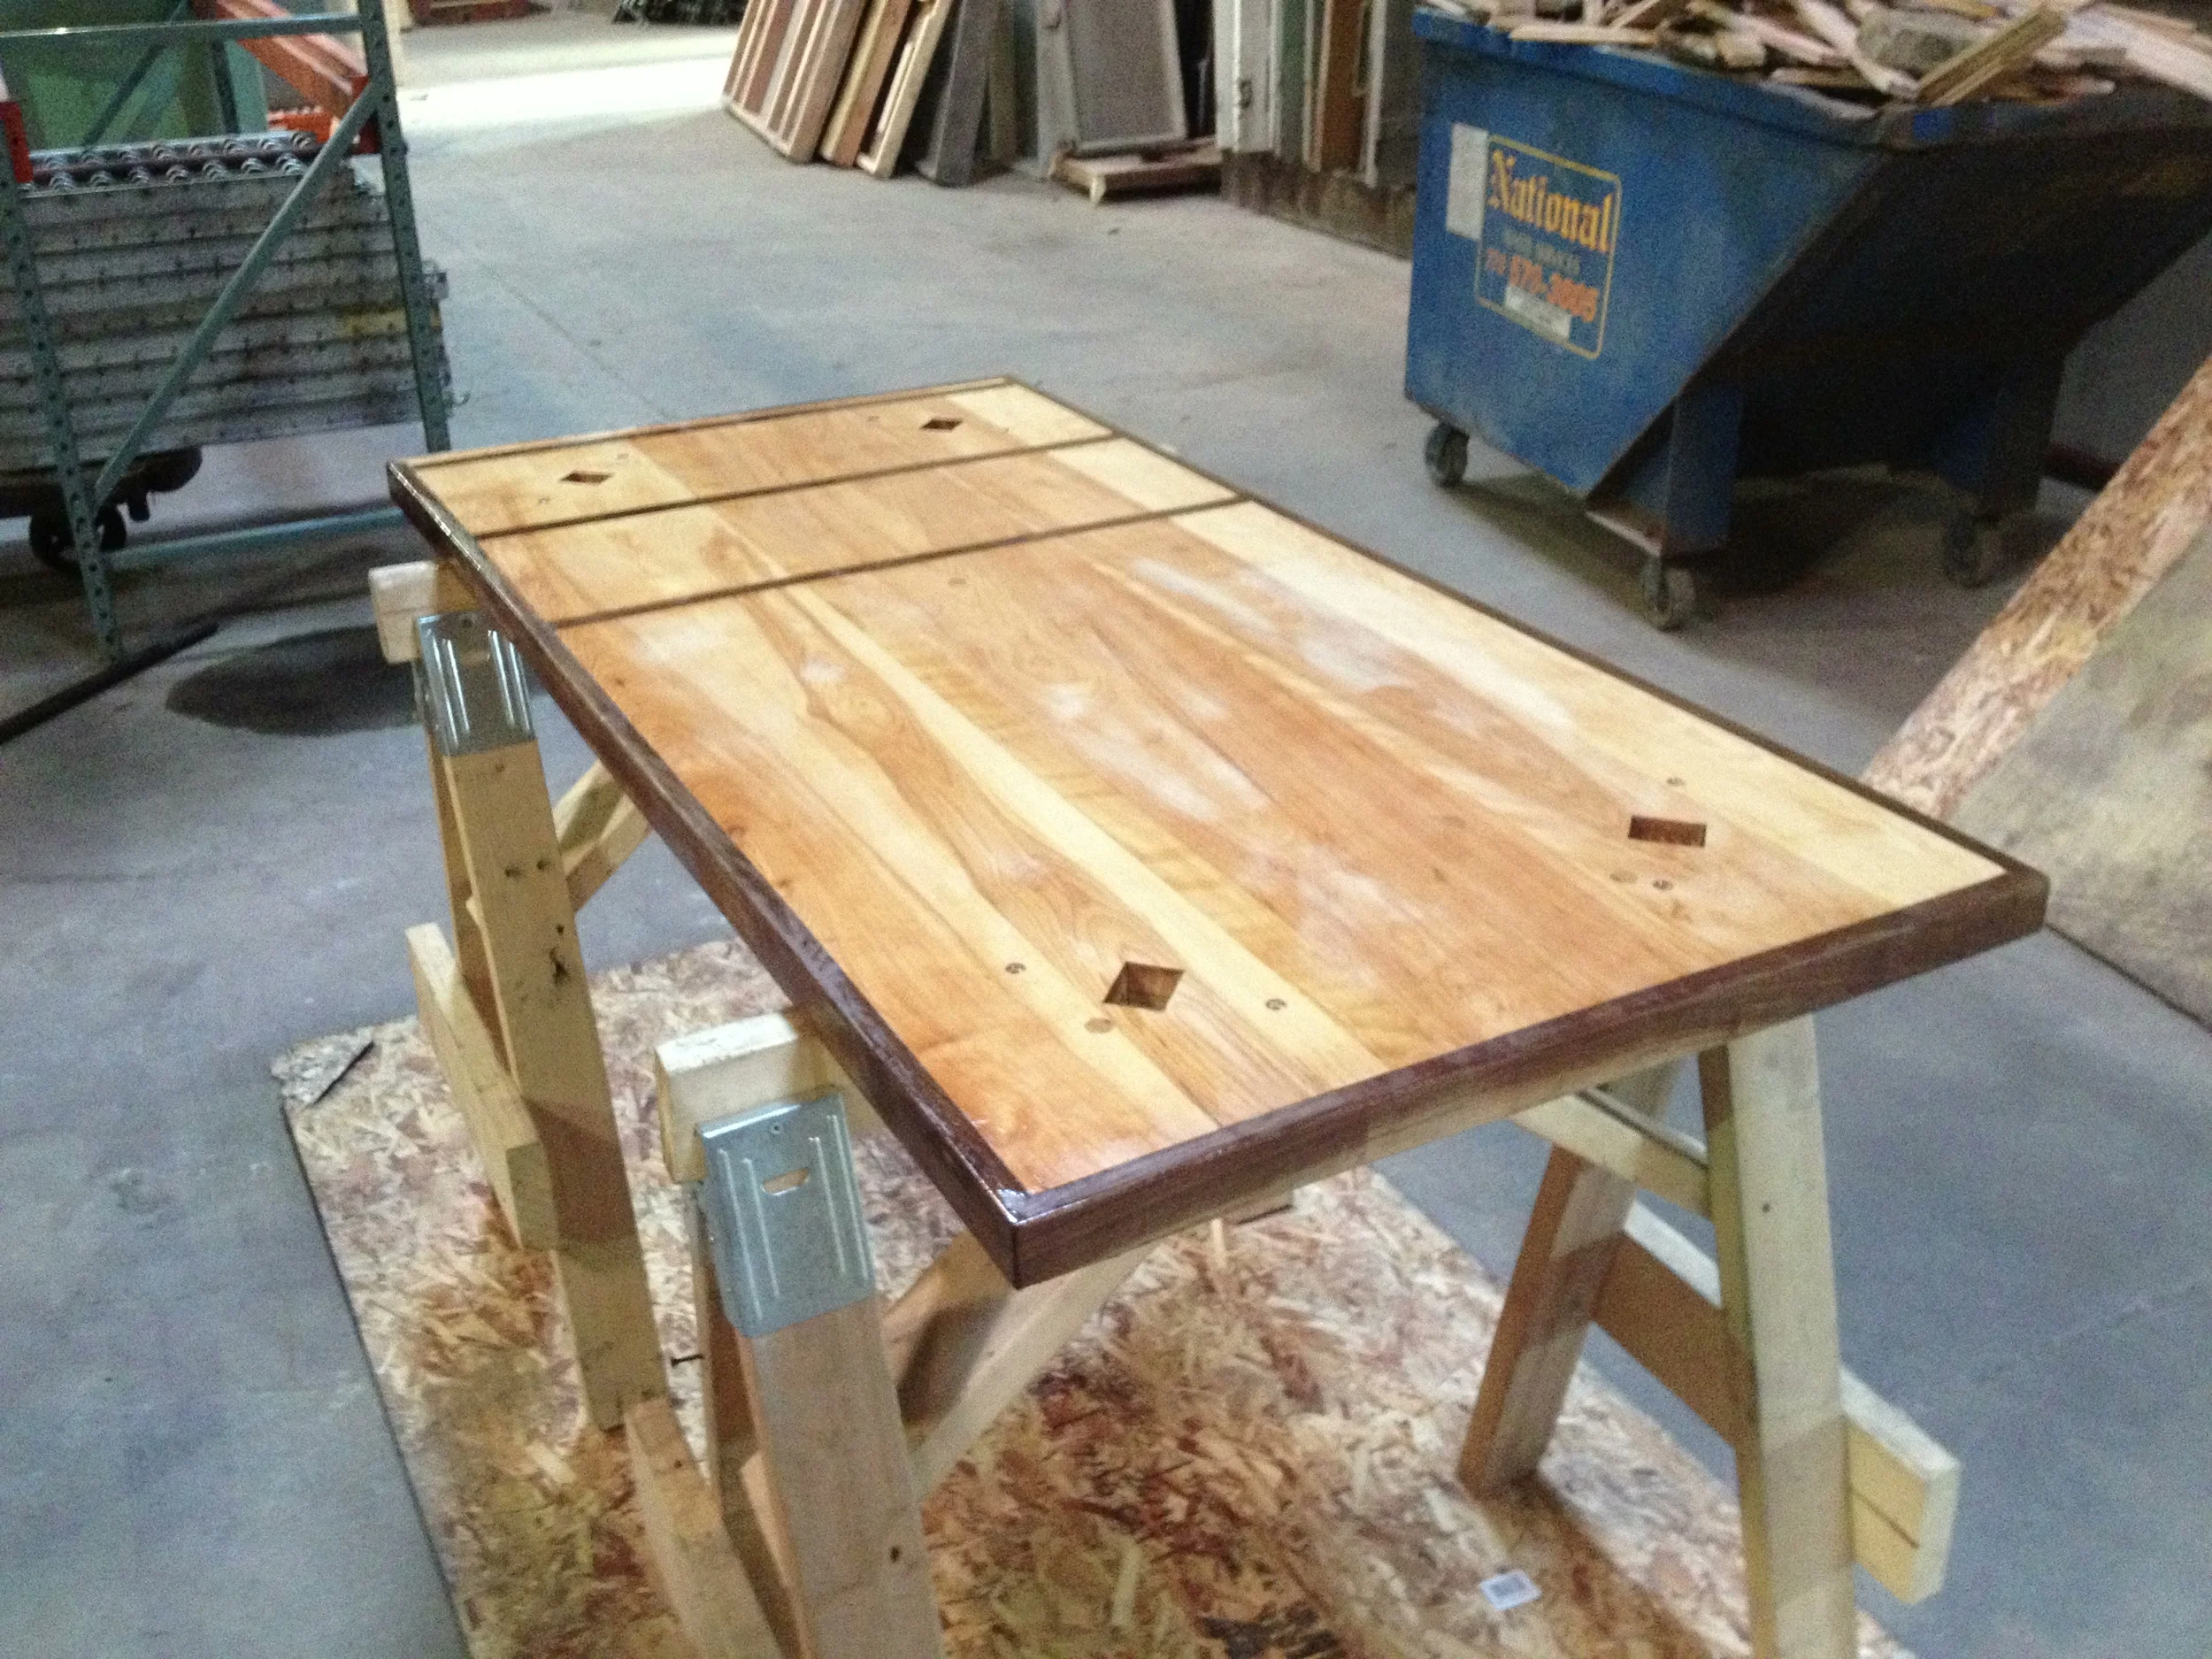
30"x 30" is a bit tight for 4, so I expanded the new top to 60"x 30" , theoretically fitting up to 6. Instead of chippy, cheap laminate, I used some scraps of solid maple shelving and walnut flooring leftover from a building project. The new hardwood is dense, heavy, and will wear like iron. Each piece of maple had 3 dadoes cut into the upper portion, each of which used to mate with a shelf. To flush out the surface, I inlaid strips of walnut.
Each leg will now through-bolt to the table, using a thin brass machine bolt. The bolts will be a visible part of the surface, but I think the brass will play nicely off of the color the wood. This scheme will not be vulnerable to loosening screws, and will use wingnuts to make table assembly completely tool-free.
I still have one or two more coats of lacquer and some waxing to do, and I will post pictures once the whole thing is set up, but for now, here's some pictures of my progress.
Original shelves.
Gluin' up.
Re-routed the grooves to clean them out of old glue and irregularities.
Dado!
Inlayin'.
Adding the rim.
Added a piece of plywood to the bottom to thicken it up to 1-1/4".
Trimmed all the edges flush and square.
Lotsa sanding . . .
Mortises layout.
Wet with lacquer.


